Quick answer: Uneven paint is almost always one of four problems. Roller marks (technique). Flashing (porous patches sucking up paint). Color show-through (poor coverage or wrong primer). Texture bleed-through (bad drywall finish under sheen). Fix order: identify the cause, sand or skim where needed, prime correctly, repaint with a full second coat using a quality roller.
In this guide
Updated June 2026. Built from real PaintWerks repaint and rescue jobs across Columbus and Central Ohio. If a previous paint job left walls that look blotchy under the lights, request a free walkthrough or call 614-582-4227.
The Four Causes of Uneven Paint
Walls that look uneven after they dry are sending you information. The pattern tells you what went wrong. Diagnose first. Then fix. Painting a third coat over the wrong problem makes it worse.
| What You See | Most Likely Cause | Fix |
|---|---|---|
| Roller-shaped streaks or lap marks | Bad roller technique or wrong nap | Sand, repaint with proper roller and wet edge |
| Dull or shiny patches in a uniform color | Flashing from porous patches or repaired drywall | Prime entire wall, repaint full coat |
| Previous color showing through | Wrong primer or only one coat over a color change | Tinted primer plus two full coats |
| Tape lines, mud bumps, or texture grid visible | Drywall finish level too low for sheen | Skim coat to L4 or L5, prime, repaint |
| Brush strokes around trim and corners | Cut-in not blended into roller pass | Re-cut wet, roll into cut-in immediately |
| Picture frame effect around edges | Cut-in dried before rolling reached it | Work smaller sections, keep wet edge |
Wrong finish level
Tape lines and mud bumps show through under sheen
L5 skim coat
Flat substrate that any sheen lays clean over
Fixing Roller Marks and Streaks
Roller marks come from three causes. Wrong nap for the surface. Roller not loaded enough. Working dry into a section that has already set up. A 3/8 inch nap is right for smooth drywall in eggshell or satin. A half-inch nap is right for light texture or flat paint. Anything heavier leaves stipple. Anything lighter starves the wall and shows streaks.
The fix order is sand, prime if needed, repaint. Use 220 grit sanding sponge on the streaked area. Knock down the high ridges and feather the edges. Wipe with a tack cloth. If the original paint film is intact and the same color is going back on, no primer is needed. If the wall was patched or sanded through, spot prime the bare areas with PVA or a stain blocker before the second coat. Then roll the full wall again, top to bottom, maintaining a wet edge with about a foot of overlap between sections.
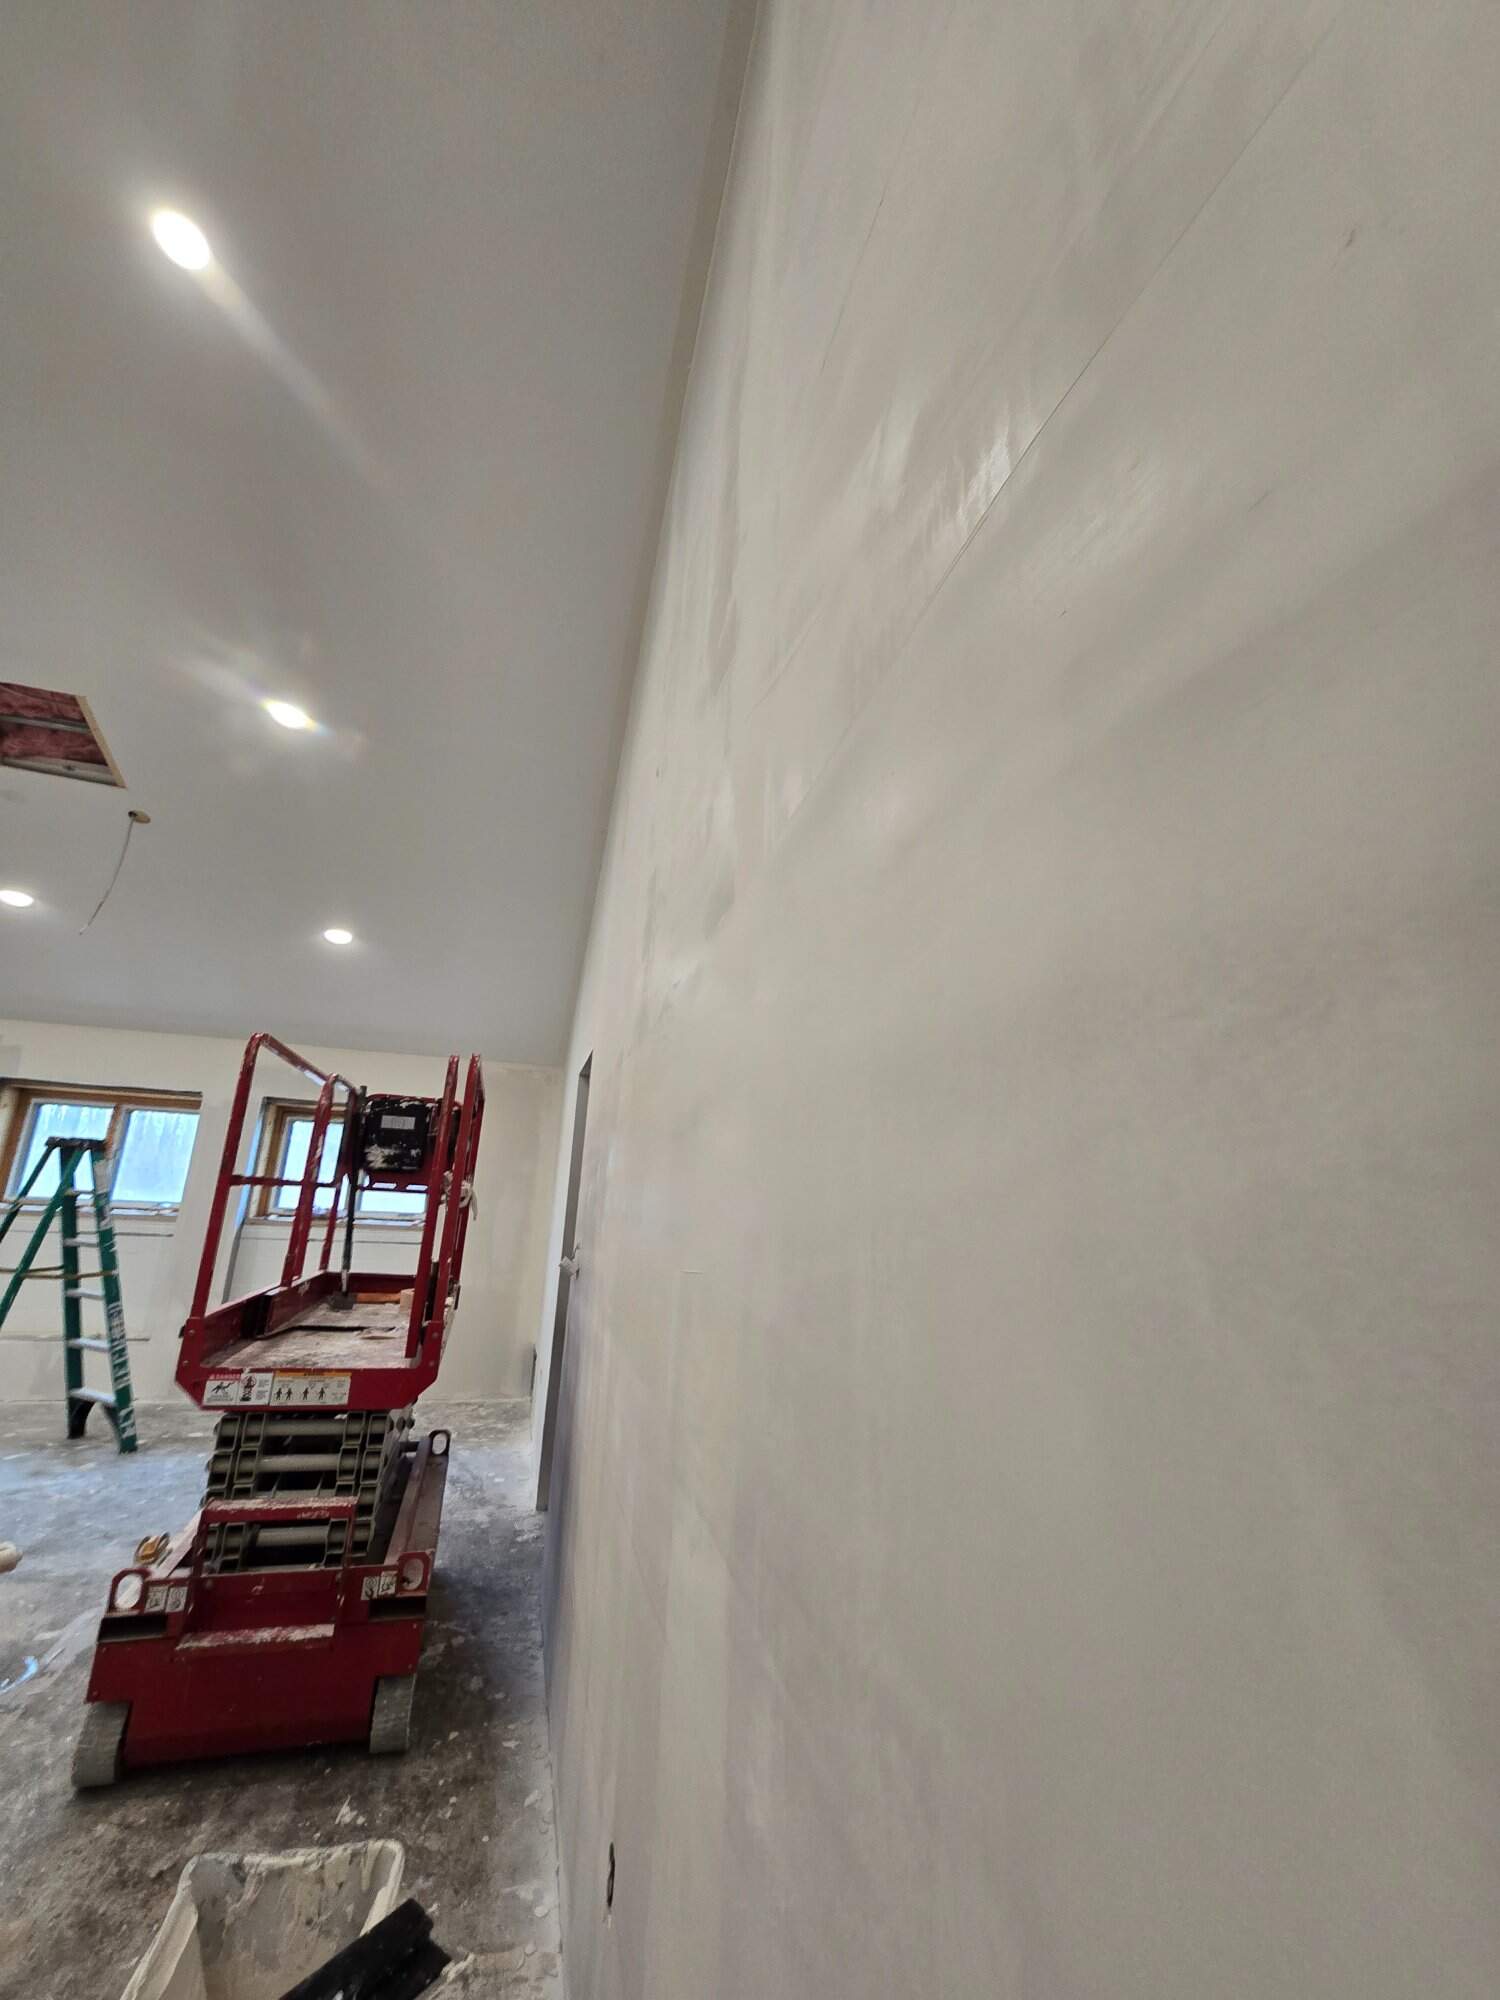
Fixing Flashing (Dull and Shiny Patches)
Flashing is when the same color paint looks like it has different sheens across the wall. Light hits it differently in different spots. The cause is porosity. A patched spot absorbs more paint than the surrounding sealed wall, so the binder soaks in and the surface loses sheen. Spots that were primed correctly stay glossy. Spots that were not look dull.
The only real fix is to prime the entire wall and repaint a full uniform coat. Spot priming a flashed area then rolling one coat over it leaves a visible halo around the patch. Whole-wall primer makes the substrate one consistent porosity. Use a quality PVA primer for drywall, a bonding primer for slick old paint, or a stain-blocking primer if there were water stains or grease in the mix.

Fixing Color Show-Through
Going from a dark or saturated color to a lighter one almost never covers in two coats of the new color. Going from red, navy, or deep green to white can take four coats of plain white paint. The fix is a tinted primer. We have the primer tinted 25 to 50 percent toward the finish color. That kills the old color in one coat, then two coats of finish go on like a normal repaint.
On most color change painting jobs around Columbus we use a gray-tinted high-hide primer for dark-to-light changes. For light-to-dark, we tint the primer toward the dark color so coverage builds faster. Going light to light over a sealed wall usually does not need primer at all, just two coats of the new finish.
Fixing Bumps, Tape Lines, and Texture Bleed-Through
This one is not actually a paint problem. It is a drywall finish problem that paint exposed. Drywall has finish levels L0 through L5 per Gypsum Association GA-214. Flat paint forgives L3 or L4 finish. Eggshell needs L4. Satin and semi-gloss need L4 minimum, L5 preferred. Gloss and any wall under raking light absolutely requires L5.
If you painted satin or higher over an L3 finish, every tape joint, every fastener, every mud-pulled-too-thin spot now shines through. Drywall finish levels L0 through L5 breaks down what each level means and which sheen pairs with which level. The fix is skim coating the bad areas up to L4 or L5, sanding, priming with a PVA, and repainting.
Fixing Picture Framing and Brush Lines Around Edges
Picture framing is when a strip around the edge of the wall looks darker, glossier, or differently textured than the field of the wall. The cause is cut-in drying before the roller reached it. Brush-applied paint dries faster than roller-applied paint because the film is thinner and the texture is different. When the roller hits dried cut-in, it cannot blend in.
The fix on a wall already framed is to re-cut the entire perimeter wet, then immediately roll into it while still wet. Work smaller sections. A 4×4 foot working area instead of an entire wall. On big walls, a second person cuts ahead while another rolls behind. On a one-person job, paint one wall completely then move to the next. Do not cut all four walls of a room then come back to roll.
Tools That Actually Matter
The right tools make the technique-related fixes easier and the failures less common.
- Quality woven roller cover — foam covers leave orange peel and lap marks. 3/8 inch nap on smooth drywall.
- 5-gallon bucket with roller grid — trays load the roller too heavy on one side and starve it on the other.
- 2.5 inch angle sash brush — synthetic bristles for water-based paint, holds enough to blend into the roller pass.
- 180 to 220 grit sanding sponge — hand sanding works for spot repairs. Pole sanders cover whole walls faster.
- Tinted primer for color changes — 25 to 50 percent toward finish color kills the old color in one coat.
- Premium paint with long open time — Duration, Aura, Marquee give margin to keep wet edges blended.
Commercial Uneven Paint: A Different Scale
On commercial painting projects, uneven paint is usually a substrate problem more than a technique problem. CMU block with patchy block filler shows pinholes through the topcoat. Steel deck with thin DTM shows roller-applied lap marks across panels. Concrete floors with epoxy that flashed where the surface profile changed look uneven in raking light.
"Painting over a problem makes it worse on a longer timeline. Diagnose first, fix the cause, then repaint."
Common Mistakes That Cause Uneven Paint
The errors that lead to most rework calls.
- Skipping primer over patches — flashing halos show every time light hits the wall.
- One coat over a color change — the previous color bleeds through within weeks.
- Wrong roller nap for the surface — foam covers and 1/4 inch nap on textured walls leave streaks.
- Cut-in dried before rolling — picture-frame effect locks in until the wall is fully repainted.
- Satin sheen over L3 drywall — every tape line and fastener shines through.
- Sanding skipped between coats on trim — second coat sits on dust from the first.
Frequently Asked Questions
Sometimes, if the problem is technique-only and the original coat is fully dry and properly bonded. Sand to a dull profile, then apply a full second coat with proper roller and wet edge. If the problem is flashing, primer failure, or color show-through, another coat without addressing the cause will look the same or worse.
Raking light from low-angle sun or overhead spots highlights surface irregularities that head-on light hides. The fix is usually a skim coat to a higher drywall finish level plus a full whole-wall repaint with the correct sheen for the lighting.
Not always. If the existing paint is intact, properly bonded, and the same sheen and color family as the new paint, you can usually skip primer. Prime if you are changing color significantly, changing sheen, painting over patches, or painting over a glossy surface. Prime always over bare drywall.
Two full finish coats minimum on any color change. One coat is almost never enough. Three coats on dark-to-light changes without tinted primer. With tinted primer, two coats.
Flat paint is the most forgiving sheen for touch-ups because it does not catch light or show overlap edges. Eggshell and satin show some halo at touch-up edges. Semi-gloss and gloss almost always require full wall repaint to hide a touch-up.
No, but the finish level under the paint determines whether the paint will look even in the first place. If you paint satin over L3 drywall, the paint will look uneven until the substrate is skim-coated up to L4. Then you have to prime and repaint.
Get a Real Diagnosis Before You Repaint
Most uneven paint problems can be fixed. The hard part is diagnosing the cause before adding more material to the wall. For residential painting rescue work or commercial painting rework, we walk the space, identify what failed, and quote the fix scope.