Quick answer: Drywall has six finish levels (L0 to L5) per Gypsum Association GA-214. For most Columbus homes, Level 4 is the standard for flat and eggshell paint. Level 5 (full skim coat) is the upgrade you want for high-end homes, walls with raking light, or any wall getting semi-gloss or gloss paint. Most paint failures in residential trace back to the wrong finish level under the paint sheen specified.
In this guide
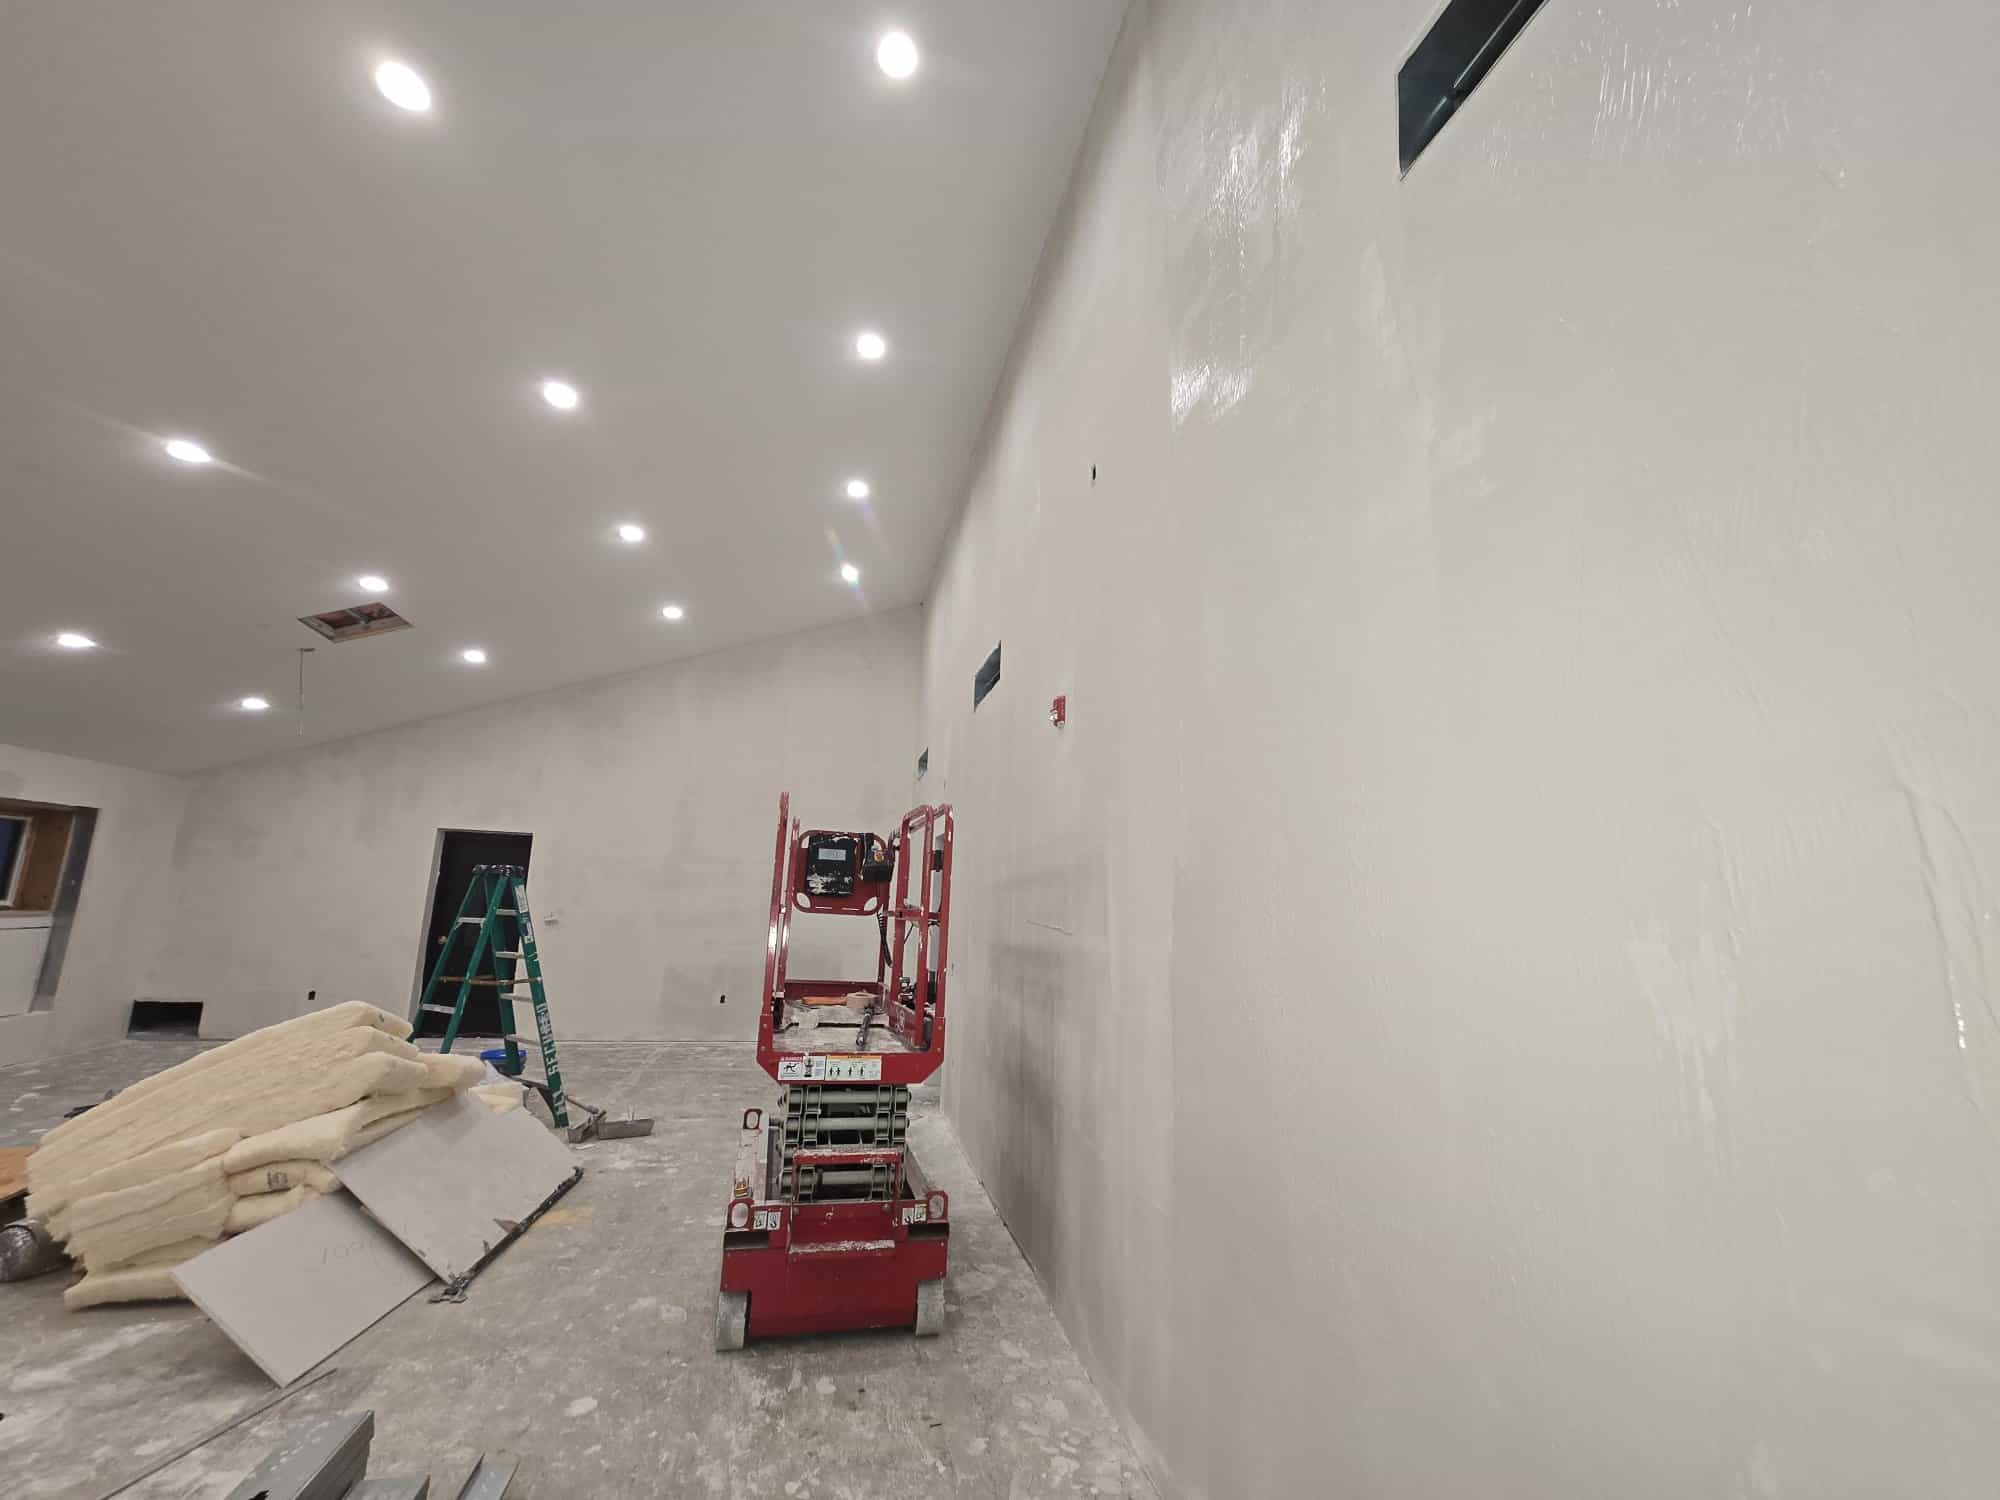
Updated June 2026. Built from real PaintWerks home drywall and interior paint projects across Columbus and Central Ohio. Wondering if you are getting the right finish level for your home? Schedule a free walkthrough or call 614-582-4227.
What GA-214 Actually Says
Gypsum Association document GA-214 defines six levels of gypsum board finish (L0 through L5). It is the standard every reputable drywall spec references. L0 means no finishing. L1 is tape only. L5 is a full skim coat over the entire surface. The middle levels add coats of compound and progressively more sanding. The Gypsum Association publishes the document at gypsum.org.
The level matters because the paint sheen on your walls reveals what is underneath. Flat paint hides almost everything. Eggshell hides most things. Semi-gloss reveals every joint, every fastener, every imperfection. Match the level to the paint and the finish holds for the life of the room. Mismatch it and you are repainting in two years.
The Six Finish Levels (L0–L5)
L0 — No Finishing
Drywall hung, fasteners visible, no tape, no compound. Used for temporary work or behind cladding (tile backer, stone). Never a finished surface. Never gets paint. In residential, you might see L0 in an unfinished basement, garage, or attic.
L1 — Tape in Joints
Tape set in compound at all joints. Excess compound is acceptable on the surface. Used for unfinished basements, attic storage, garage walls that will not be painted, or behind a future second layer of drywall. Where it belongs in residential: unfinished storage areas, mechanical rooms, behind shower surrounds.
L2 — One Coat Over Tape
Tape plus one thin coat of compound over tape and fasteners. Tool marks acceptable. Substrate for ceramic tile where the tile is the finish (bathroom walls behind tile, kitchen backsplash). Also used in unfinished basement areas that will be storage. Where it belongs: tile substrate in bathrooms and kitchens, unfinished basements, garages getting a rough paint job.
L3 — Two Coats Over Tape
Tape plus two coats of compound, sanded between coats. Acceptable substrate for heavy texture finishes like orange peel or knockdown. Rare in modern Columbus residential builds since most homeowners want smooth walls. Some 1980s and 1990s ranches still have L3 with knockdown texture in basements and bedrooms.
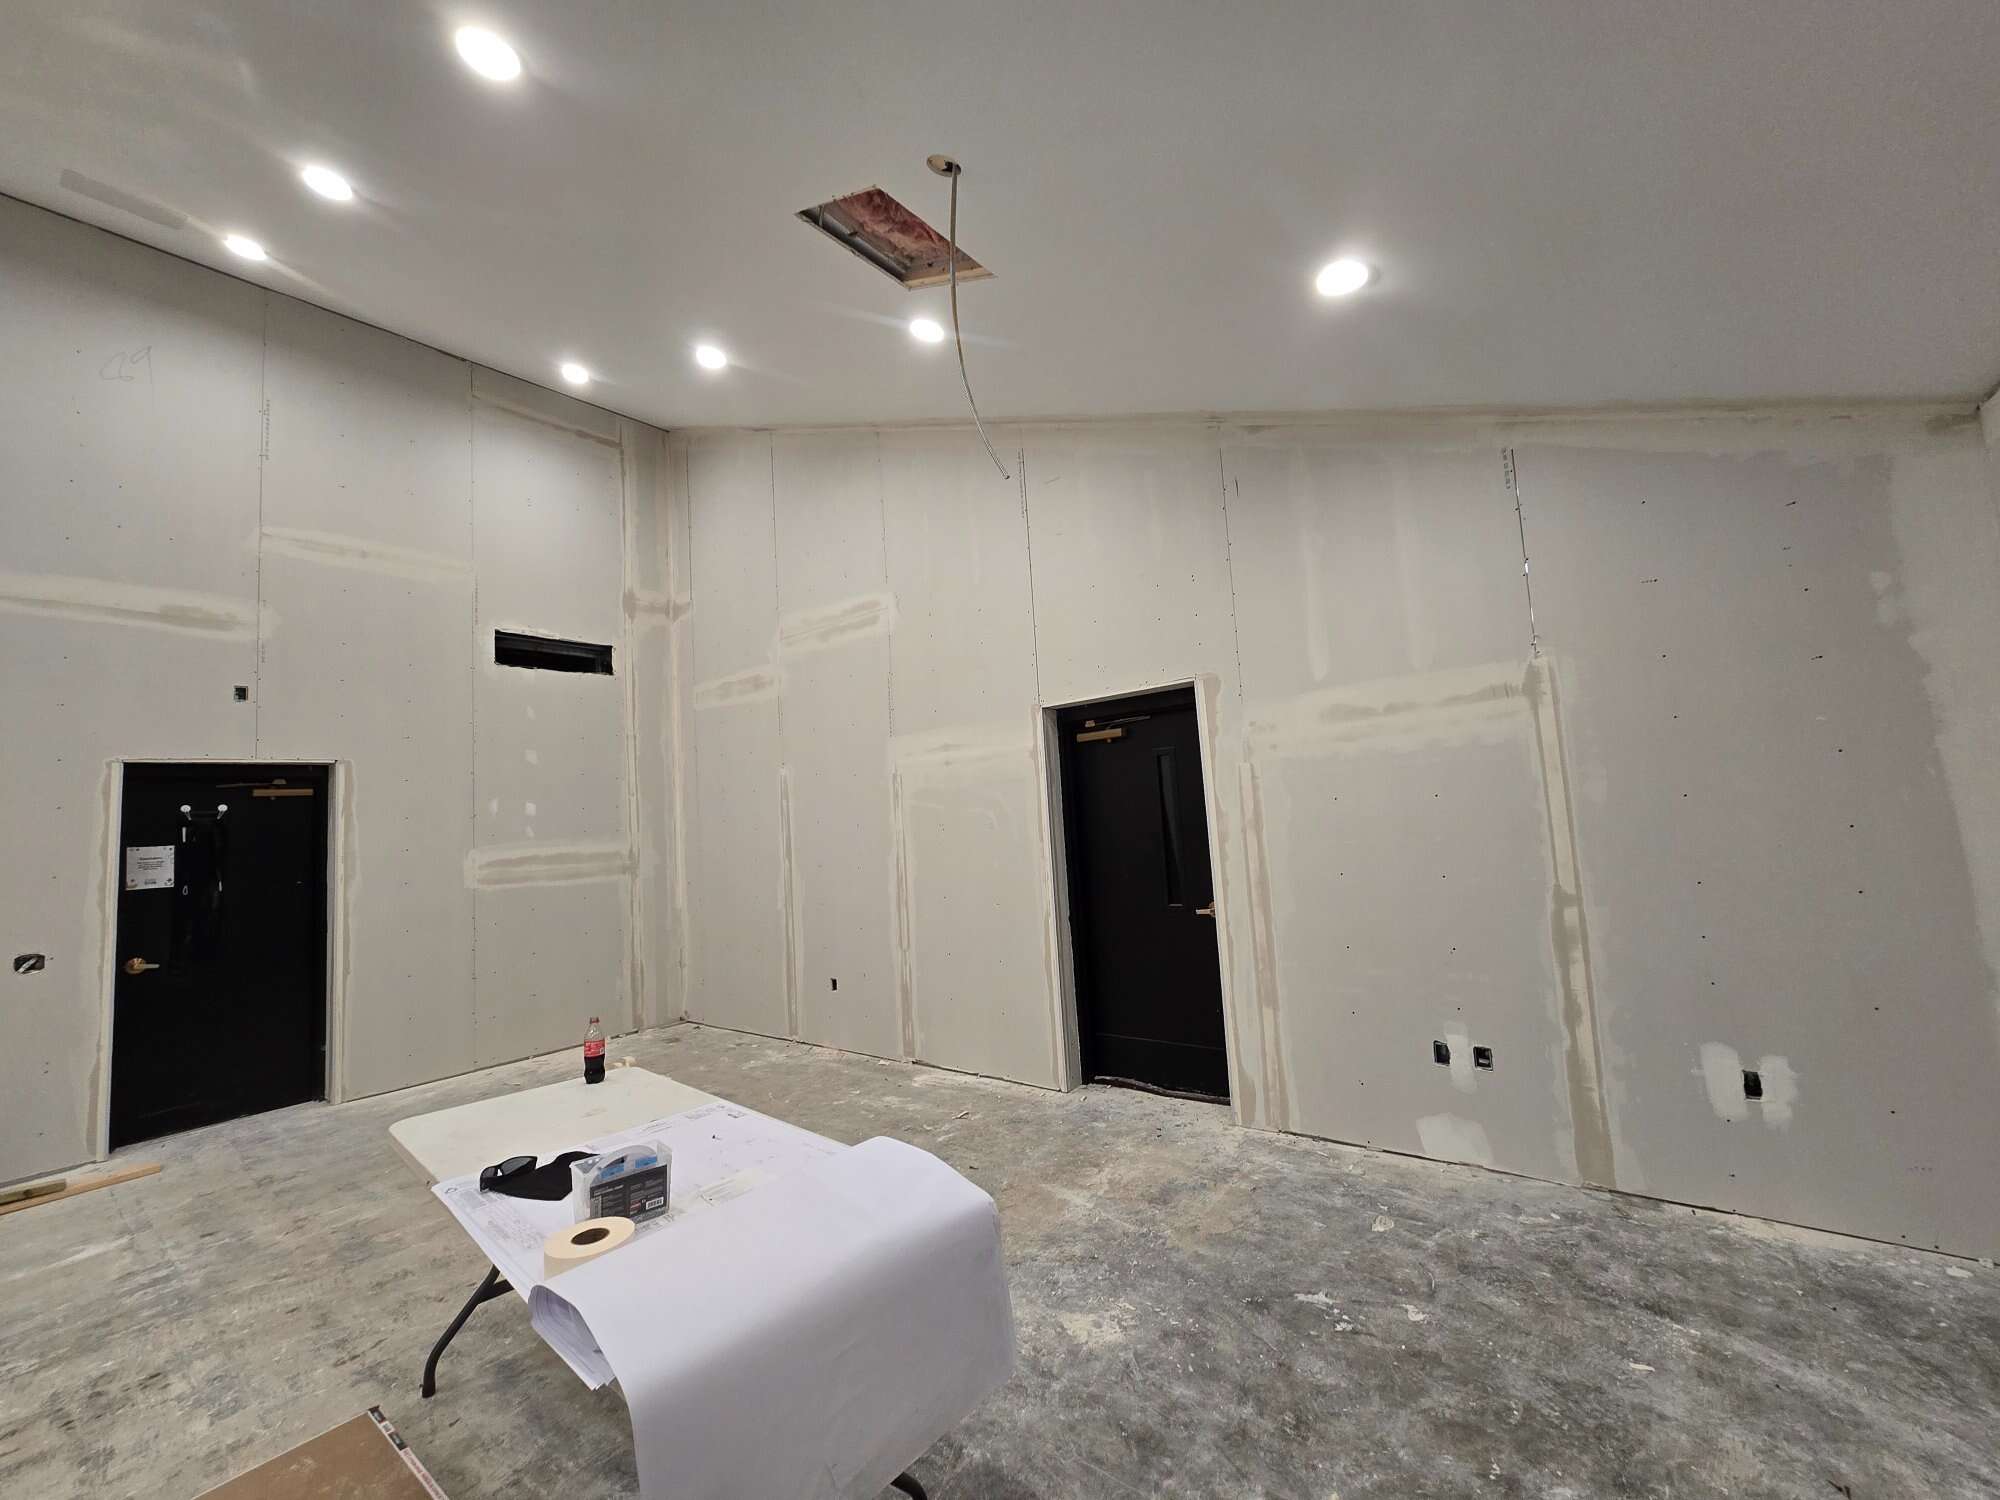
L4 — Three Coats, Sanded (The Residential Standard)
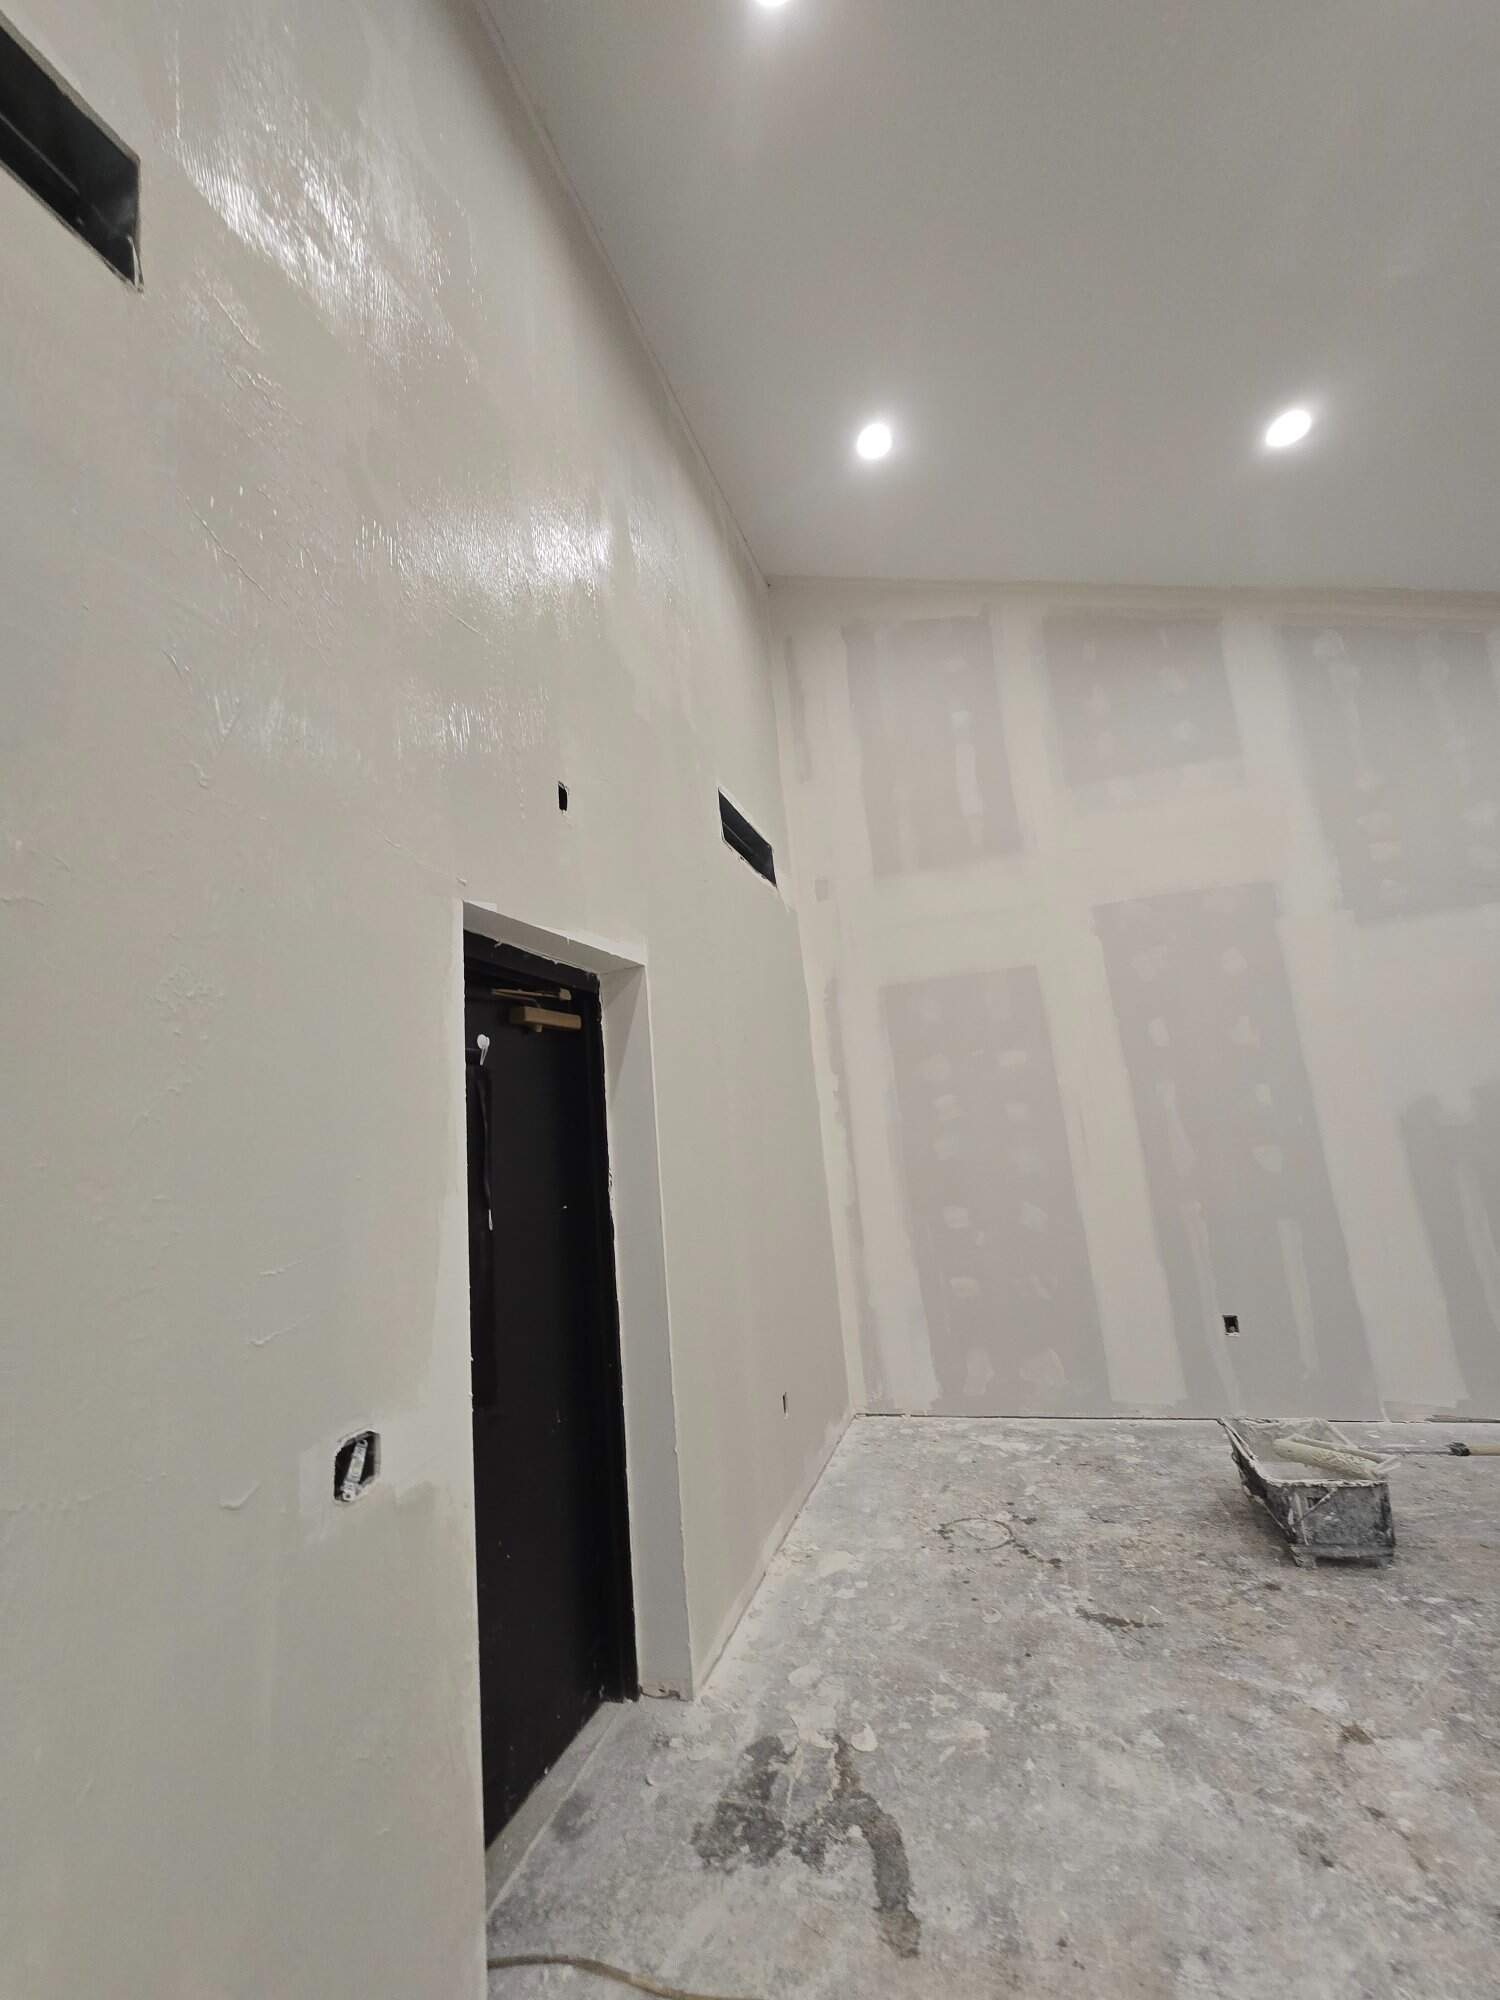
Tape plus three coats of compound, sanded smooth between coats. This is the baseline standard for most Columbus homes with flat or eggshell paint. Most builder-grade new construction is L4. Most repaints over existing residential drywall assume L4 substrate. Not recommended for semi-gloss, gloss, or walls under strong raking light from windows. Where it belongs: bedrooms, hallways, family rooms, finished basements, dining rooms — anywhere the paint sheen is flat or eggshell.
L5 — Full Skim Coat (High-End Residential)
L4 plus a thin skim coat of compound applied to the entire wall, sanded smooth. Eliminates joint banding under critical lighting and gloss finishes. Required for residential when: walls are getting semi-gloss or gloss paint, the room has floor-to-ceiling windows that throw raking light across walls, the ceiling is being painted in any sheen above flat, the spec is a custom build or high-end remodel. Adds roughly 20 to 35 percent to the drywall cost. Where it belongs: formal dining rooms, executive home offices, foyer two-story walls, custom kitchen ceilings, anything that will be painted semi-gloss or gloss.
"Most builder-grade drywall is Level 4. If your spec calls for semi-gloss on the trim and the wall meets it at the same level, you are painting over the wrong substrate."
Where Each Level Belongs in Your Home
Room-by-room guidance for typical Columbus homes:
| Room | Typical Spec | High-End Spec |
|---|---|---|
| Bedrooms | L4 + flat or eggshell | L5 in master, L4 elsewhere |
| Family room / living room | L4 + eggshell | L5 if floor-to-ceiling windows |
| Dining room (formal) | L4 + eggshell | L5 + semi-gloss trim spec |
| Kitchen walls | L4 + eggshell or satin | L5 + satin or semi-gloss |
| Bathrooms (above tile) | L4 + satin or semi-gloss | L5 + semi-gloss |
| Hallways and stairwells | L4 + eggshell | L5 on two-story walls with raking light |
| Foyer / two-story entry | L4 + eggshell | L5 required (raking light) |
| Home office | L4 + eggshell | L5 if executive spec |
| Finished basement | L4 + eggshell | L4 (rarely worth L5 below grade) |
| Garage / unfinished basement | L1 to L2 | L2 |
2026 Residential Drywall Finish Cost in Columbus
Fully-loaded drywall finish ranges per square foot of drywall surface (not floor area). 2026 Central Ohio numbers including hang, tape, mud coats, sanding, and dust-off. Texture finishes add 10 to 20 percent. Repair-only patching is priced per spot starting at $185.
| Finish Level | Typical 2026 Range | Top Cost Driver |
|---|---|---|
| L1 (tape only) | $0.65 to $1.10 / sf | Drywall volume |
| L2 (one coat) | $1.10 to $1.65 / sf | Corner work |
| L3 (two coats) | $1.45 to $2.10 / sf | Texture coordination |
| L4 (three coats) | $1.85 to $2.85 / sf | Sanding labor |
| L5 (full skim) | $2.35 to $3.95 / sf | Full surface skim labor |
For interior paint pricing across five real Columbus jobs, see our interior painting cost guide. Failing trim downstream of a drywall job? See why your trim is failing for the prep workflow at the wall line.
How to Verify the Level Before Paint Goes On
Three easy tests any homeowner can run on a wall before the painter shows up:
- Raking light test. Hold a flashlight or phone light within 6 inches of the wall and shine the beam parallel to the surface. Every joint, every fastener pop, every imperfection lights up at L3 or rough L4. A real L4 shows minor joint banding only. A real L5 shows nothing. Do this in the morning or evening when the room itself has angle light from windows.
- Smooth-hand test. Run your hand across the wall at the joints and where corner bead lands. Should feel smooth as paper. Any bump, ridge, or sanding paper roughness means the level was skipped or undersanded.
- Sheen sample test. If you are paying for L5 because you want semi-gloss or gloss paint, brush a 2 ft by 2 ft sample of the final paint on the wall before committing the whole room. Light it the way the room will be lit at use. If joint banding telegraphs through, the substrate is not L5.
The Drywall Finish Scams That Hit Residential the Hardest
How a budget bid shaves 15 to 30 percent off the drywall line and what it actually costs you after move-in:
- L3 billed as L4. Only two coats of compound applied, third skipped. Joint banding shows up the first day eggshell paint hits the walls and afternoon sun comes through the window. Bidder saves $0.40 to $0.90 per sf. You pay 2x that to repaint.
- L4 billed as L5 on a high-end build. Skim coat skipped or applied only to the visible parts. Semi-gloss trim and wall meet, the wall reveals every joint within months. Custom homes are the most common victim.
- Vague spec language. "Smooth walls" or "ready for paint" with no level number. There is no defensible standard if the work disappoints. Always require a numbered level on the proposal.
- Sanding skipped between coats. Mud goes up, dries, next coat right over without sanding. Feels rough under a hand. Paint reveals the texture. Shows up as "orange peel under flat paint."
As a licensed Ohio general contractor, PaintWerks handles drywall, framing, and paint under one contract so the hand-off between trades stops being a buck-passing exercise when something looks wrong. Our residential drywall team works with our painting crew on the same job, on the same schedule.
Frequently Asked Questions
Level 4 for most rooms with flat or eggshell paint. Level 5 for rooms with semi-gloss or gloss spec, two-story foyers with raking light, formal dining rooms, custom kitchen ceilings, and any wall where you want the finish to be invisible under sheen.
For most rooms with flat or eggshell paint, no — Level 4 is fine. For high-end specs (custom build, formal dining, executive home office), under raking light from large windows, on two-story walls, or any room with semi-gloss or gloss paint, yes. The 20 to 35 percent premium prevents joint banding and avoids repaint within a few years.
Yes. We skim coat the existing L4 surface with a thin pass of compound, sand smooth, prime, then paint. Adds roughly $1.20 to $1.80 per sf over the existing wall. Worth doing in formal rooms or before applying gloss paint.
Under normal indirect lighting, almost no. Under raking light (window at 8am, wall-wash fixture, gloss paint) L4 shows minor joint banding. L5 shows nothing. The raking-light test in the morning is how you tell.
Level 4 in most cases. Production builders default to L4 because it is the lowest level that works under flat and eggshell paint. Custom and semi-custom builds often spec L5 in the foyer and formal rooms.
Yes. We skim coat over the existing finish, sand smooth, prime, repaint. Same outcome as upgrading L4 to L5. Cost is $1.50 to $2.50 per sf of wall plus the paint.
Yes for premium paint manufacturers. Sherwin-Williams, Benjamin Moore, and PPG explicitly require L5 substrate for semi-gloss or gloss paint warranty on commercial spec. Residential warranties are looser but the failure mode is the same — gloss over L4 will show joint banding.
The Gypsum Association maintains GA-214 at gypsum.org. Most architects and builders cite it in their wall sections. For commercial-side spec questions see our commercial drywall finish levels guide.
Get Your Drywall Spec Reviewed
Building, remodeling, or repainting in Columbus? We will walk your home, check the existing drywall level, and tell you what level is right for the paint sheen you want — and where you can save money by not over-speccing. Forty-five minutes onsite. Educational walkthrough.
See our full residential drywall services or schedule below.